3.14. Point Cloud and LGSx Images
1. Create a new project named Piazza.pce
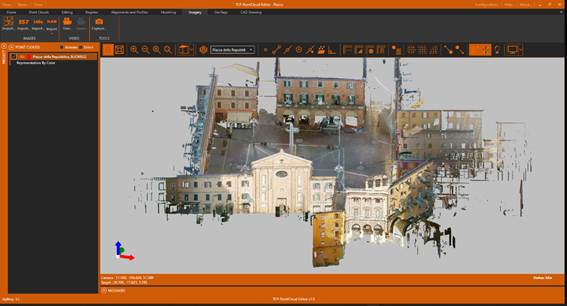
2. Import the Piazza della Repubblica_BLK360G2.lgsx file (courtesy of Leica Geosystems) into the 2-SCANNER folder.
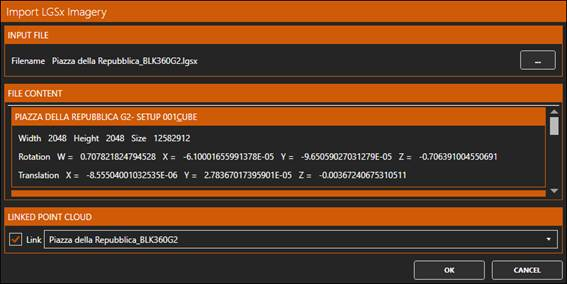
3. Next, activate the Imagery ribbon, and within the IMAGES group click the Import LGSx Images icon. Choose the same file again.
4. A list of the 10 panoramic images it contains will be displayed. Press OK.
5. Above the point cloud, the spheres corresponding to the images are displayed.
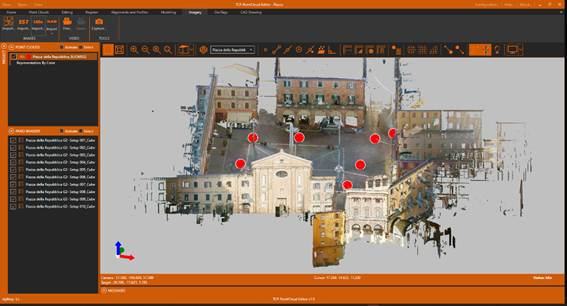
6. Click on one of the spheres and the preview will be displayed.
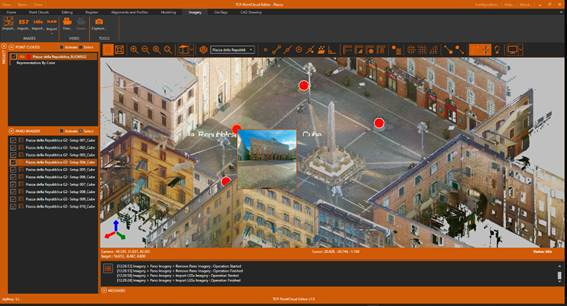
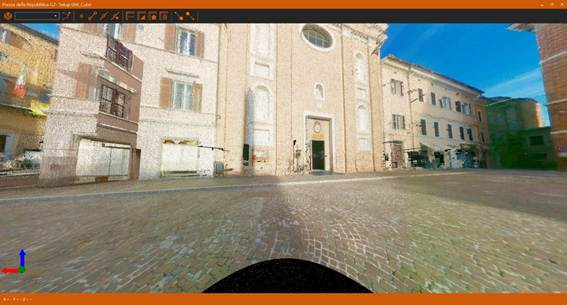
7. Press again to open the panoramic image. It can be seen that the point cloud has also been drawn.
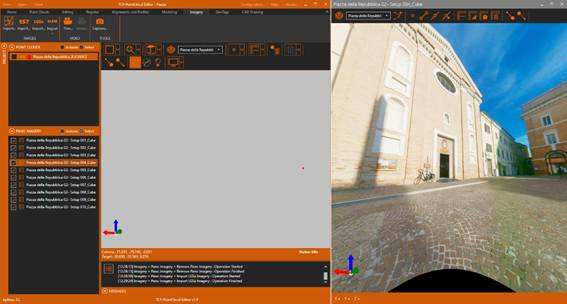
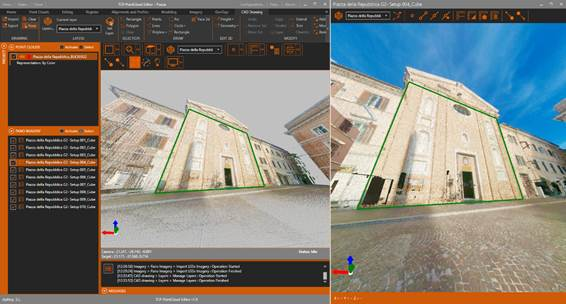
8. Change the layout of the windows so that the point cloud viewer and the image viewer are displayed simultaneously (two screens are recommended to improve the user experience).
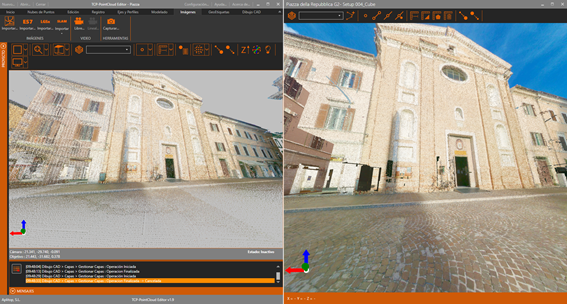
9. In the Point Cloud Viewer window, hide the point cloud. Verify that only the image is now displayed in the image viewer.
10. To measure or draw on the point cloud, it is necessary to activate the corresponding cloud and use the tools as explained in the previous section.
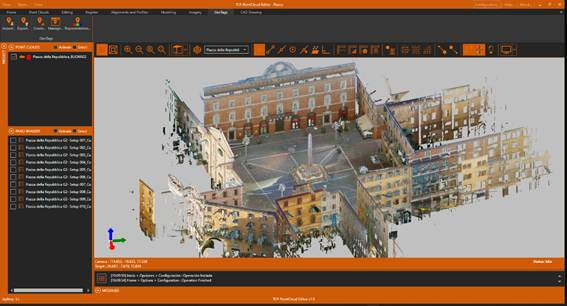
11. In the point cloud viewer, hide the CAD layer and all panoramic images and activate the Camera Orbit Mode icon. Set a view similar to the following (orthographic view).
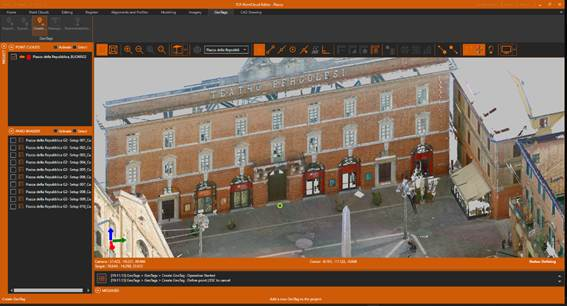
12. Enlarge the façade of the theatre, activate the Geotags ribbon and press the Create icon. Select a point, for example on the entrance door of the theatre.
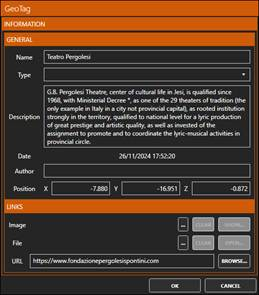
13. In the associated data dialog, fill in at least the name and optionally a description and a URL link or an attachment. Press OK.
14. It is noted that a geotag symbol has been drawn over the point cloud. If you want to change the color or size of the symbol, click the Representation icon on the ribbon.

15. Create another geotag in the font, named "Fontana dei Leoni".
16. Click on the label icon, and check how it allows us to open the associated link by clicking on the URL button, or EDIT the content.
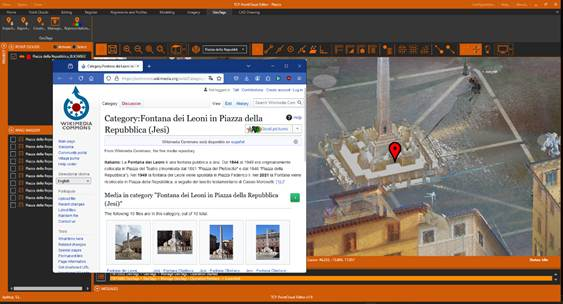
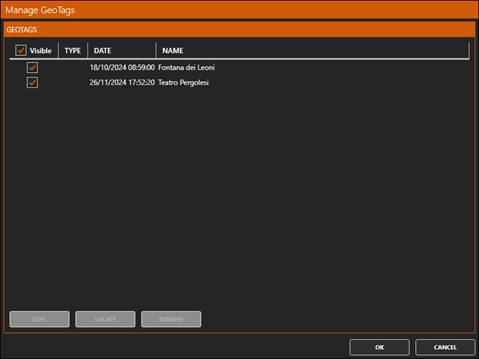
17. Now press the Manage button and a list of stored geotags will be displayed, allowing you to edit or locate them quickly.