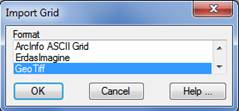
This command allows the importing to MDT format grid files in other formats A dialogue appears with the list of formats supported and, after selecting one of them, the program asks for two files: firstly, the one existing in the format selected and then the file to be created in MDT format.
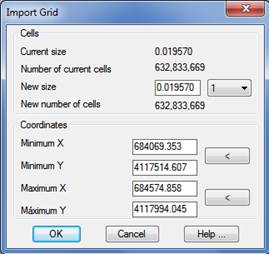
In the specific case of the GeoTiff format, the following text box appears in which we may select an area to convert only the region which is of interest to us.
Moreover, once the grid has been converted, if the size of the same is excessively large we may execute the “Resample Grid” command and change the size in accordance with our needs.
WCS Services (Web Coverage Services) are systems for checking and downloading raster information with its original semantics. It not only enables users to view the image, but also accesses its properties, in other words, the checking of the values associated with each pixel.
The use of WCS services is only recommended to download data for specific areas, taking into account that the information received will be adapted in accordance with the framing and resolution of the client´s screen on which the request is submitted, as it resizes the pixel and its variable value accordingly.
Continuous variables in space, such as average temperatures, terrain altitude, soil water content, etc., the representation of which in vectors is less precise, are identified for the entire territory using the raster format with a value indicating the average value of the variable for each pixel.
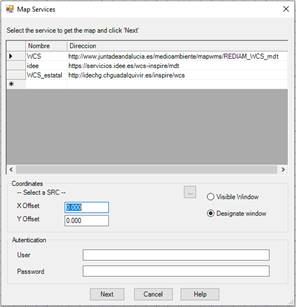
On executing the command, a window appears with a list of the different services configured in the program. This list includes a Name to identify the service, and a Web address to which the request for the map can be made. Items can be added to the list by typing on the line marked with *. Moreover, we need to specify the design of the drawing, and if we wish to obtain an image that occupies the entire visible drawing area or designate a smaller window.
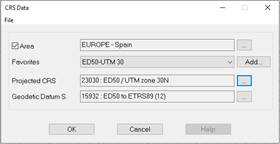
To select the design of the drawing, we need to click on the browse button and the following dialogue box will appear:
When the service requires basic authentication, we enter the Username and Password to access the service.
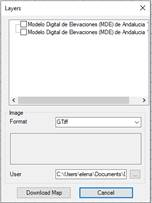
On clicking on the Next button, the program connects to the service selected from the list and another window appears in which to select the layers to be included in the image, in addition to the format. These options depend on the service selected.
On selecting a layer, a brief description of that layer appears.
We then name the downloaded file and choose the location by clicking on the corresponding button.
Clicking on the Download Map button executes the request for the image, and finally the program will request a file in which to save it. A second file will be created automatically with the image´s georeferencing data.
Once the image has been downloaded, the GeoTiff format grid import dialogue box appears automatically, as illustrated in the previous section, which will ask us for a location in which to save the generated .MDE file.