3.13. Quick Editing of Classification
1. Next, we're going to edit the classification with advanced tools. First, on the Editing ribbon, within the CATEGORIES group, assign the desired categories to edit, for example 52-Wall, 54-Window, 55-Table, and 56-Chair.

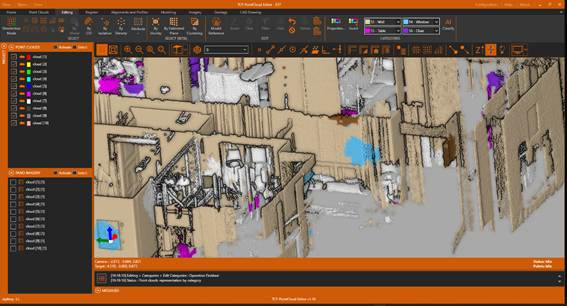
2. Now enable categories previously hidden but floor and ceiling and look for an area where the points on the wall are incorrectly classified, such as the one shown in the figure.
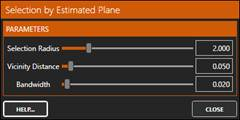
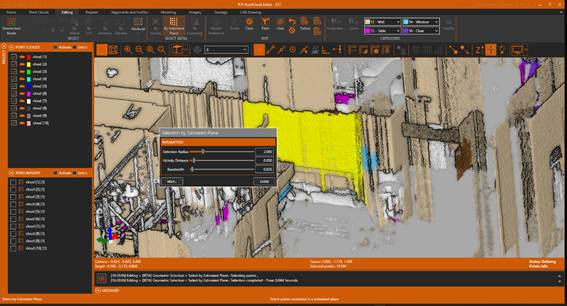
3. Run the By Estimated Plane tool, set the parameters as shown in the figure and click on a point located in the area to be edited. The points will be selected and their representation will change to yellow.
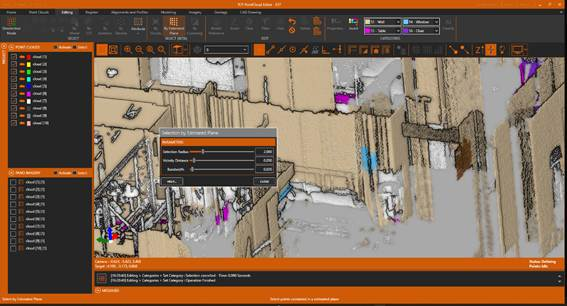
4. In the CATEGORIES group, click on category 52-Wall, and this category will be assigned to the selected points, also changing their representation. If desired, repeat the operation in other areas.
5. Expand the area where there is a circular table, and run the By Vicinity tool and select a point belonging to the table.

6. The points on the table will be automatically selected, highlighted in yellow.

7. Click on the 55-Table category and see how this category is automatically assigned to the selected points. Repeat if desired the procedure to process the other similar table.
