4.9. Manual Editing of Classification
1. The automatic classification has improved on that of the original cloud, but it is not perfect. For example, in the northern area there are points belonging to vehicles that have been classified as buildings.
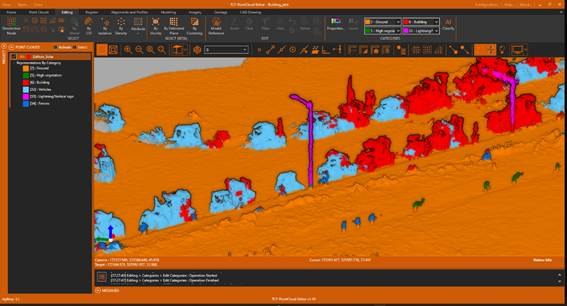
2. On the toolbar, if it is not, turn on Point Reference. Activate the Edit ribbon, and in the CATEGORIES group, select category 32-Vehicles.

3. Using the Properties tool, hide category 2-Ground and zoom in on an area where vehicles have not been classified correctly, such as those that appear in red. Within the SELECT (BETA) group, run the By Vicinity tool.
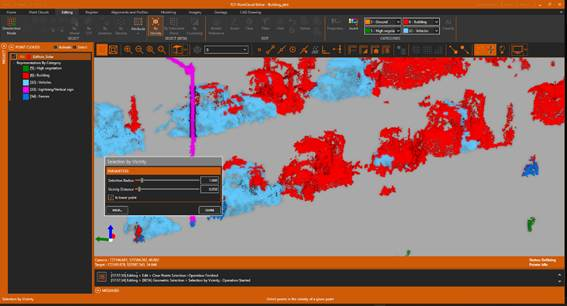
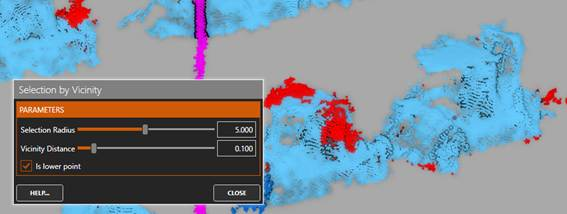
4. Set the parameters as they appear in the dialog below by selecting the Is lower point check box and selecting a point belonging to a vehicle with the minimum elevation.

5. The points that meet the conditions will be selected in yellow. If we make a mistake, we can press the Clear button to clear the selection.

6. In the CATEGORIES group, run the 32-Vehicles tool to modify the category of the selected points, observing how their color is changed.
7. Repeat the process using the manual or semi-automatic selection tools until sufficient.