4.2. Basic editing
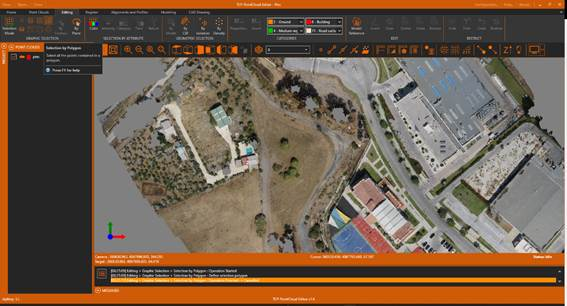
1. Next, we'll show you the manual point editing tools. Activate the Editing ribbon and within the GRAPHIC SELECTION group click the Selection by Polygon icon.
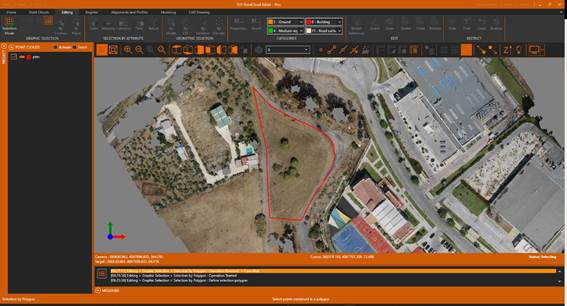
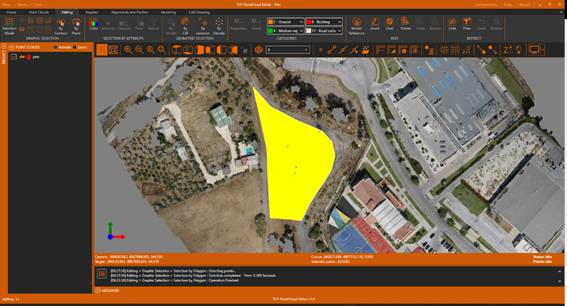
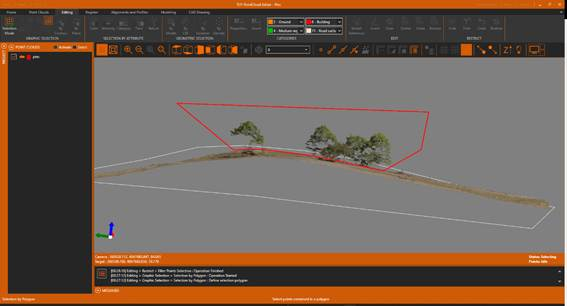
2. Draw an outline similar to the following figure, ending with the right mouse button or pressing Enter, so that all the points within it will be highlighted in yellow.
3. Within the RESTRICT group, click the Filter icon to hide the rest of the points.
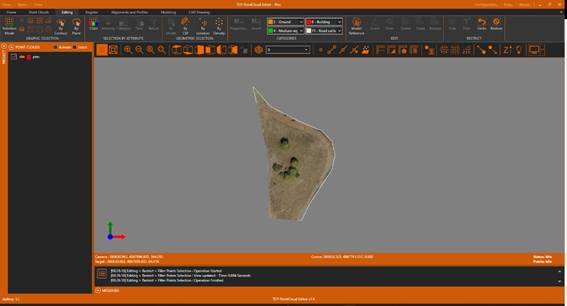
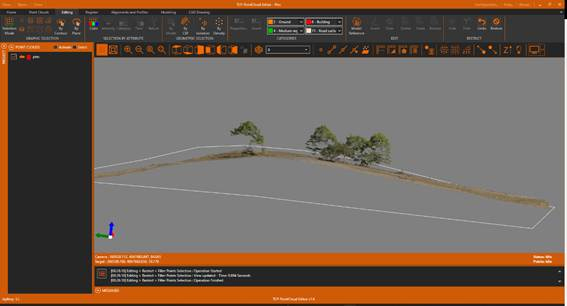
4. Now use your mouse to orbit the point cloud and set a view similar to the one in the following figure. If desired, delete the polyline representing the outline.
5. Run the Select by Polygon tool again to select the points corresponding to the trees.
6. In the EDIT group, click the Delete icon to delete the selected points.
7. Finally, in the RESTRICT group, click the Undo button to display the complete point cloud.
8. Set Top View, make a zoom extension and then zoom in on the original area, to verify that the points belonging to the trees have been removed.

9. Finally, we restore all the changes made to the point cloud by running the Restore icon within the EDIT group, answering yes to the question.